Print your photos with Picta

Learn how to shoot with iPhone like a PRO [2024]
Even if you don't have iPhone 15 Pro 📱
Written by: Leah from Picta
Last Updated: Oct 04, 2023 | Reading time: 7 minutes
Our Best-Selling Products:


Table of Contents
Get the food mode on on your iPhone camera
1. Clean your iPhone camera lens

Let’s be honest the iPhone camera is actually pretty awesome and we always have it on us. Like a lot of photographers will tell you the best camera is the one that you actually have with you so what I wanted to do is show you some of the things that you may not know about taking pictures with your iPhone especially when it comes to photographing food. Make sure first of all that you know where the camera lens is so here on my iPhone it’s here right on the back but then what happens over the course of the day is this ends up you know in my hands it ends up getting thrown on counters, ends up in my purse and my kids hands and then with smudges all over it.
So if you’ve ever taken a picture in your lake why is that so fuzzy er it’s got this kind of like glowy thing that maybe you didn’t mean to do, maybe you did but if you want to clean some schmutz off so that you can get a nice clean picture well you just take the back your shirt and just rub it down a little bit make sure it’s clean and you’ve got a nice clean lens to work with.
2. Turn off the flash

Once you open up that camera app to shoot the images in, please turn off the flash because if you use the on-camera flash from your iPhone, what that’s gonna do is it’s gonna really wash out your whole scene. You’re really gonna lose any sort of depth or dimension, it’s gonna feel super flat. Be sure to turn off the flash and then find some sort of good quality light source that’s gonna help make your picture look good. Light is what makes or breaks a photo. It doesn’t matter what camera you’re using, it’s all about the lighting. I am using natural light; I’ve got a south-facing window but I am diffusing that get a diffuser in front of it my big giant huge freaking diffuser in front of that because it’s Arizona and we do not have a cloud in the sky it’s really harsh rays so I want to diffuse those; make it a little bit softer.
If you need a diffuser and you don’t want to spend any money then you can certainly use a white curtain or some sort of thin white sheet; anything that’s gonna make that a softer light that’s gonna really help in getting a nice picture with your iPhone.

3. Portrait mode
Tip number three is to watch out for some of the fancy modes that your camera can do. On the iPhone you’ve probably heard about this or you personally have it on your iPhone: the ability to do it in portrait mode which more or less what that’s doing is emulating the sense of aperture. You’ve got a really narrow depth of field versus a wide depth of field because that narrow depth of field really brings attention to your subject which is great. Portraiture also really great in food but you do have to really make sure you’re paying attention because I have had more than one situation where I have photographed something, especially when it comes to drinks or anything with a stem or some sort of straw or garnish, that it will fuzz out things that it’s not supposed to fuzz out because it’s not truly acting like the aperture and a typical lens would do. It’s creating a mask around the subject and so you can see just a couple examples where I’ve had a couple portrait mode fail. This is again something you can definitely use for food it can make it look really cool but just make sure that you’re paying attention so that you don’t lose certain important details.

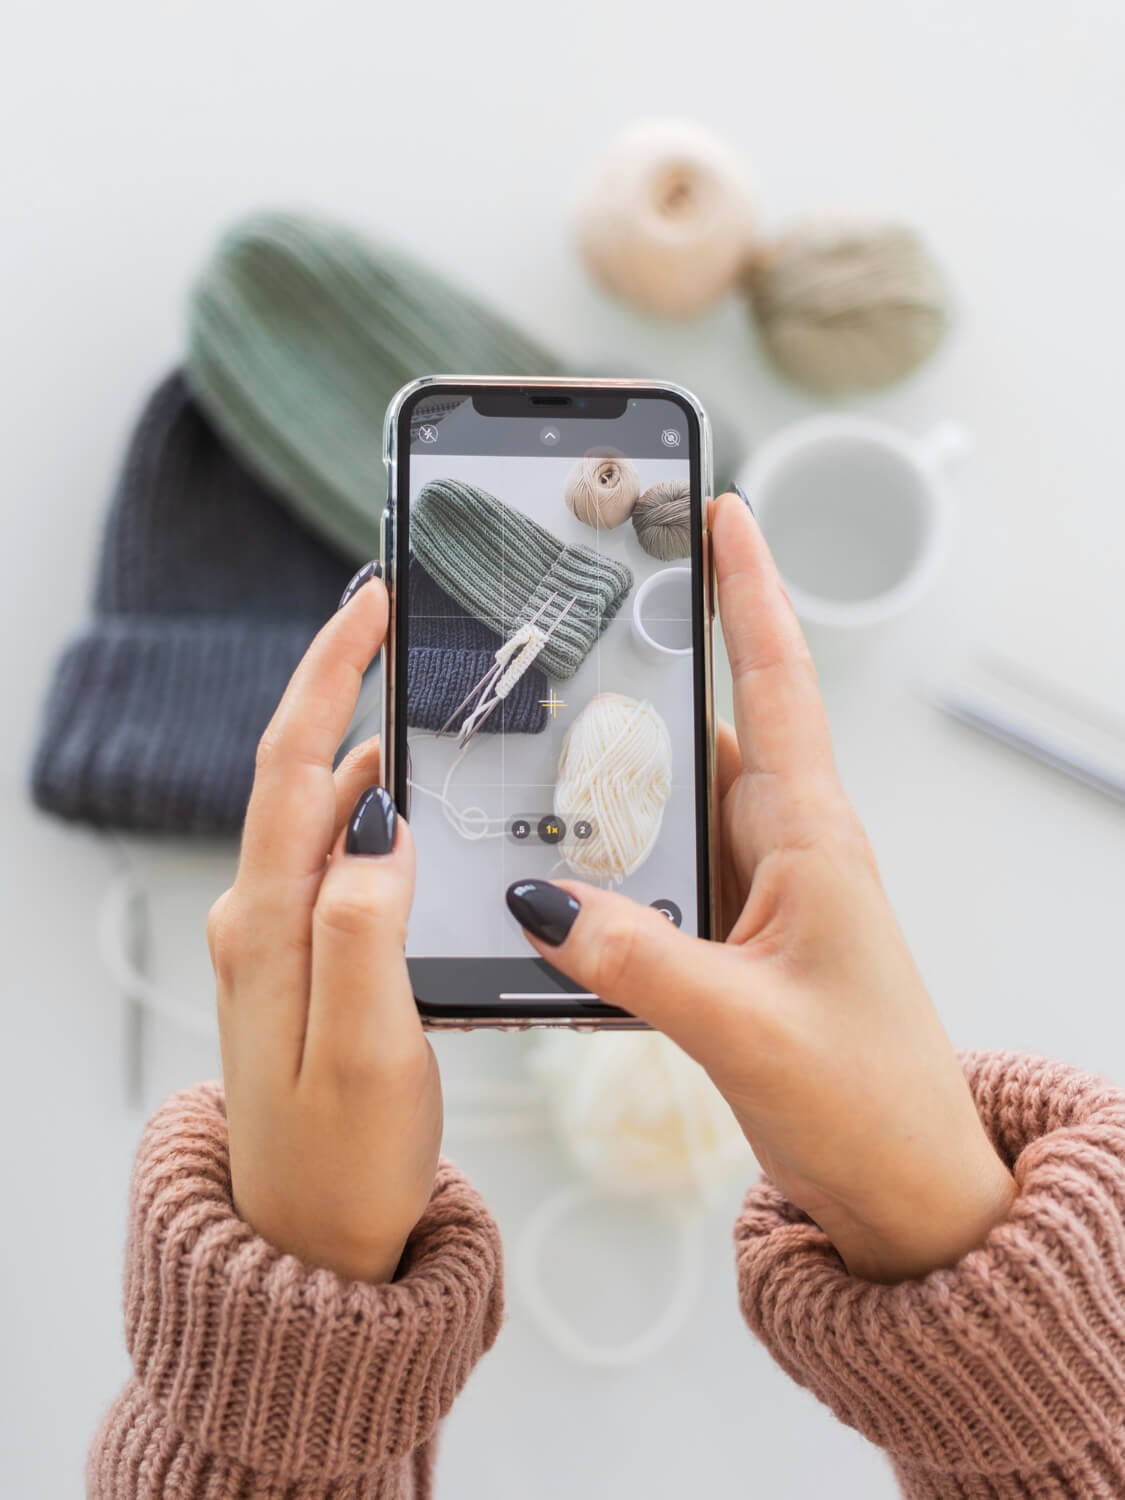
4. Shoot from iPhone photo apps
Tip number four is that you don’t have to shoot inside of the native camera app that comes with the iPhone. You can actually shoot inside of other apps. They come with some additional bells and whistles. A lot of folks like to shoot in VSEO or VSCO cam. I like to shoot inside of Adobe Lightroom cc. Their mobile app has got some pretty nifty bells and whistles that I want to walk you through so if you’ve downloaded Lightroom CC on to your iPhone and you open that up (this is a free app. It’s $5.99 a month if you want some of the pro features).
If you go into the shooting, you open it up, we launch it up and we open up the camera. Then you see these three dots along the side there. You open that up: this is going to give you a little menu of options and so you can, of course, change the aspect ratio depending on the specific place where this image is going. I usually keep it in three two but maybe you want to do it more in a 4:3 so it’s a little bit longer or if you are going for that Instagram story then select the sixteen by nine. You can just shoot it and crop it later; totally up to you. That’s where you can adjust that aspect ratio. Then you’ve got a timer there if you’re doing some sort of like shooting yourself in some sort of elaborate scenario which we are not doing in this article.
You can also set up gridlines which are super duper helpful if you are doing a flat lay or if you’re doing something straight on and you want to make sure you’ve got everything properly aligned straight up and down. Also helpful guide for if you’re following the rule of thirds in terms of your composition.
The little triangle: turn this on and it shows highlight clipping and what that’s doing is showing you anything that is going to be overexposed when you shoot it so anything that is SuperDuper bright and you’re gonna lose all the detail in it. It’s not bad to have overexposed things in your picture. I mean according to me and I’m not necessarily the authority on that but I would say if you like the way your image looks and you’re okay with certain parts of it being blown out that’s great. At least this will sort of give you a little warning of like “hey you’ve got way too much light coming from this source here in the background this is causing things to be blown out”. Then just at least then you’re informed.

From there if you go down to the bottom where you see where it says Auto; you hit professional. Yes my friend, you are professional and then we are gonna open up then an additional menu of options here and so you can adjust the exposure. Say you’re looking at the picture and you’re like “it’s really really dark”; then you can slide that up or down to adjust to make it a brighter or a darker exposure.
Next in the menu you’ll see seconds and this really to me doesn’t apply so much for food photography because we don’t have a lot of motion going on but this is more or less getting at your shutter speed and so if you want a situation where something is going to come across as blurry so maybe you’ve got somebody running past the camera or you’ve got you know some sort of something being poured and you want it to look kind of flowy and you don’t want it in sharp focus then what you want to do is bump that down to a slower shutter speedsB.
We could decrease that down to one over for something a lot slower so that we’re capturing that motion now. If you’ve got something that’s moving and you want to capture it in still complete focus then what you want to do is use a faster shutter speed so in that case go to like one three hundredth of a second or one 500th of a second. That’s a really fast amount of time for your shutter to open and close and capture what’s happening in front of it. If you are familiar with the way that cameras work and operating a camera and manual the faster the shutter speed, the less light that is letting in the darker your exposure is gonna be so you’re gonna want to be in the right sort of lighting scenario. If you want to get those super high shutter speeds or you compensate with your ISO.
5. ISO sensitivity
ISO which is your camera’s sensitivity to light. The higher that is the brighter your exposure. The thing to bear in mind is that the brighter that exposure gets, thanks to ISO, the grainier the image will be which if you’re going for like maybe like a filmy quality or you want sort of like a grainy artistic image then you rock it on with your bad self but if not, if you want any sharper cleaner image keep that ISO low.
Next in our menu of options we have got the white balance and this in the way this works here. This is actually one of my favorite features in the Lightroom cc mobile app and so if you open that up what you’ll see is you’ve got a menu of options of what is your white balance scenario. This is more or less the concept of anything that’s white. How close to true white is that based on the color temperature of the lighting scenario we’re in so if we’re in a restaurant then that’s gonna be more orange elight and so the camera is going to adapt and accommodate for that making things more blue so that it feels more balanced to true white as opposed to the middle of the day when you’ve got natural light coming through a window. So if you go into the white balance menu you’ll see you have all these options and so depending on your scenario you can pick one like if you’re using you know incandescent lights you go ahead and select that one or if this is in the Sun and the daylight you pick that or if it’s a cloudy day that’s gonna help determine again what is your white balance.
What I love to use is the little eyedropper there because that is custom white balance and what it’s telling me then is to pick a neutral surface do you find something in your scene that is a white or a gray some sort of neutral color it’s not cast toward blue or toward orange or red or green. It’s a very nice neutral color like this white tablecloth and then you fill that and then you hit the little checkbox and then what that’s going to tell Lightroom is “okay that is a true neutral”. Then to cast everything else within that white balance spectrum makes sense.

One other feature that is definitely worth mentioning is that some phones like this one are able to shoot in RAW. You can make a selection between raw and JPEG. What we can do here in Adobe Lightroom is toggle between DNG which is a file format for raw according to Adobe and so we can either have dmg or switch it over to JPEG if you are worried about file size and storage. Then JPEG is probably going to be the direction you’re gonna want to go but if you want a greater degree of flexibility especially in editing to reclaim colors, to reclaim light, all those things you go ahead and jump over to DNG.

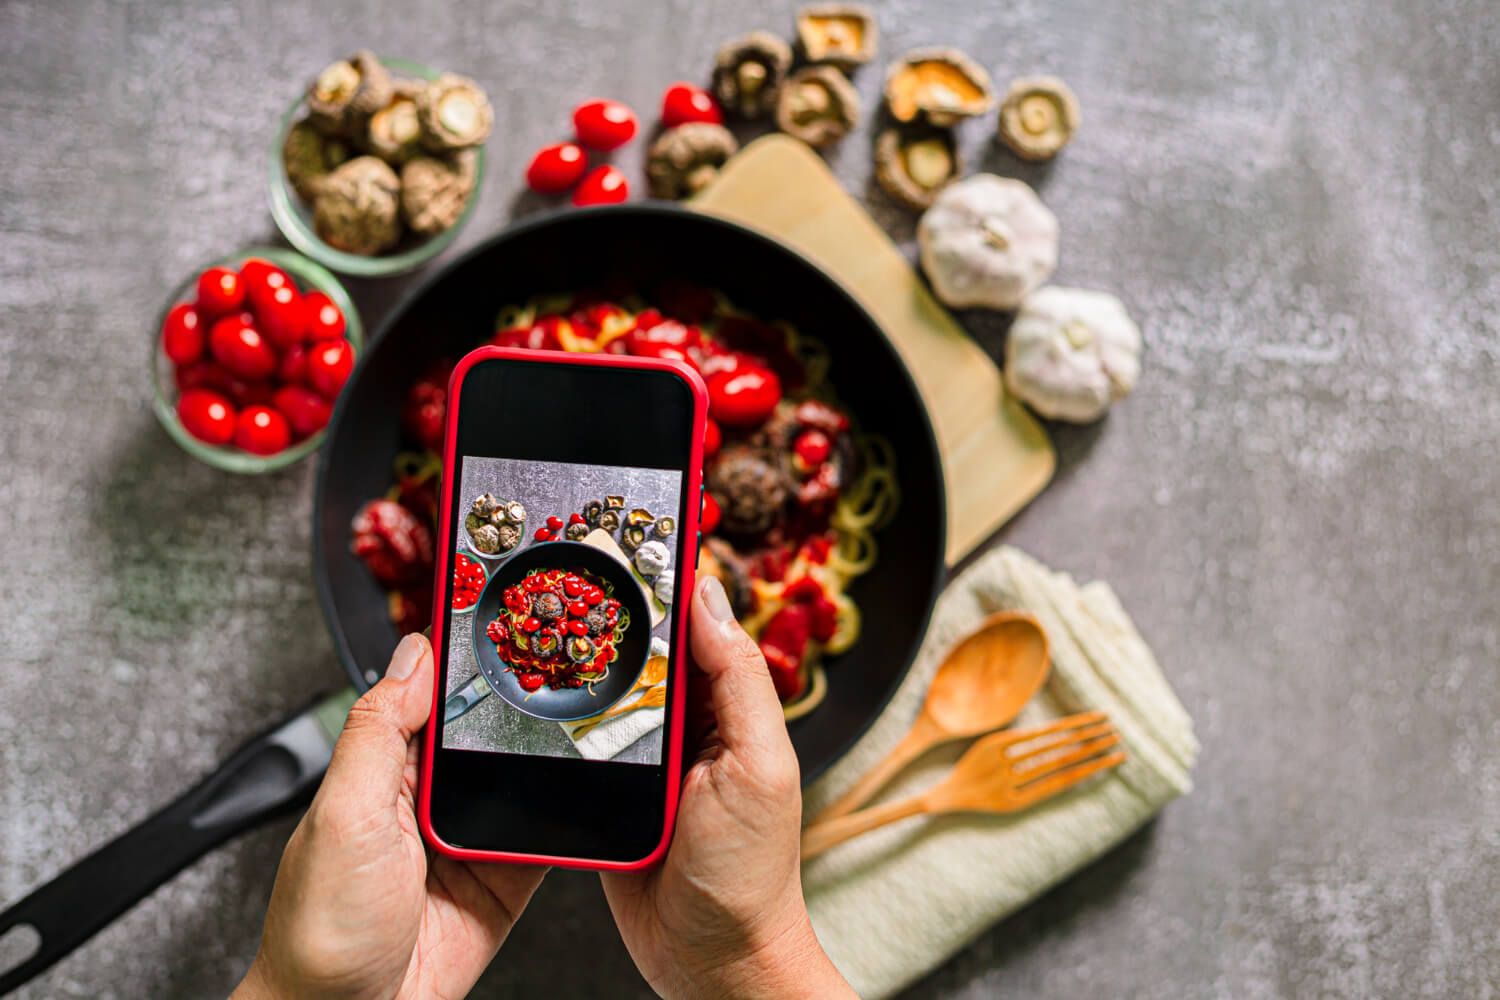
When it comes to taking pictures of food, a very flattering and very popular angle for online posting, is either gonna be the overhead or the straight on. That’s how I’m gonna shoot it but if you are gonna shoot something at the head-on angle we’re not talking the three corridor like that you know 45-degree angle we’re talking head-on. Here’s something to think about again going back to where is the camera actually located on the iPhone. When we’re on the iPhone like this it’s located up at the top right well if you try to take that image it’s still gonna be a 3/4 angle no matter how you try. There is nothing to say that you can’t just flip your iPhone upside down and take the shot right because what you’re gonna do is then you’re literally going to be head-on at the food and getting that head-on angle that feels monumental, that feels huge.
I hope you learned a thing or two certainly if you take any pictures on your iPhone or any pictures in general!