Print your photos with Picta

12 Tips for Taking Amazing Beach Pictures at SUMMER 2024
Shop Our Best-Selling Categories 🔥


Table of Contents
Take top-notch beach and ocean pictures with your phone
🏖️ Print Your Perfect Beach Moment! 📸
Do your beach shots seem a little drab, even though the setting is truly spectacular? Good news: The solution to your beach photography woes is easy. Here, 12 photo tips for taking your ocean photos from dull to practically magazine-worthy!
Switch it up

🔄 Mix Up Your Shots - Print in Every Orientation! 🌅
Don’t stick to one photo orientation: for better options, take a vertical and a horizontal shot every time. On an iPhone, turn on the grid feature (in Settings, under Photos & Camera) for well-planned composition. You can capture more of the scene when you shoot horizontal, and the rule of thirds (a photography concept that says images that are divided evenly into thirds are more visually appealing) is more easily followed with the grid—just line up the point of interest with the gridlines. You want the focus of your photo to be at the intersections of the gridlines (four points near the center of the shot). Vertical shots may offer a different perspective, though, so take the time to do both! You never know which angle will prove most Insta-worthy. And, if you’re shooting for Instagram, it’s easiest to take a rectangular photo and then crop in—it gives you more options for your final post than a square shot might.
Use a filter
🕶️ Filtered Views to Printed Memories! 🌞
Polarizing filters on cameras cut out the glare and increase saturation and contrast in colors. You can’t get the same effect in editing, so consider investing in a lens filter that easily attaches to your phone. Or put the lens of polarized, clean sunglasses in front of your camera (hold them close!) and then shoot. Just know that whatever tint your sunglasses have may affect the final colors of your photo, but that can be adjusted in editing. If you’re on the clumsier side, you might want to enlist a friend to help hold the glasses in place while you shoot.
Shoot from the water line or underwater
💦 Dive Deep into Printing! Capture Underwater Magic 🐠
Most pictures are taken from the beach looking into the water, but you can switch it up and take pictures from the water of the beach for an unexpected angle that’s all but guaranteed to bring in the likes. Pictures of the water from the water also pop in Instagram feeds. With some waterproof cases, this is easy enough, but for underwater photos (like when you’re snorkeling) make sure to get a pressurized case.
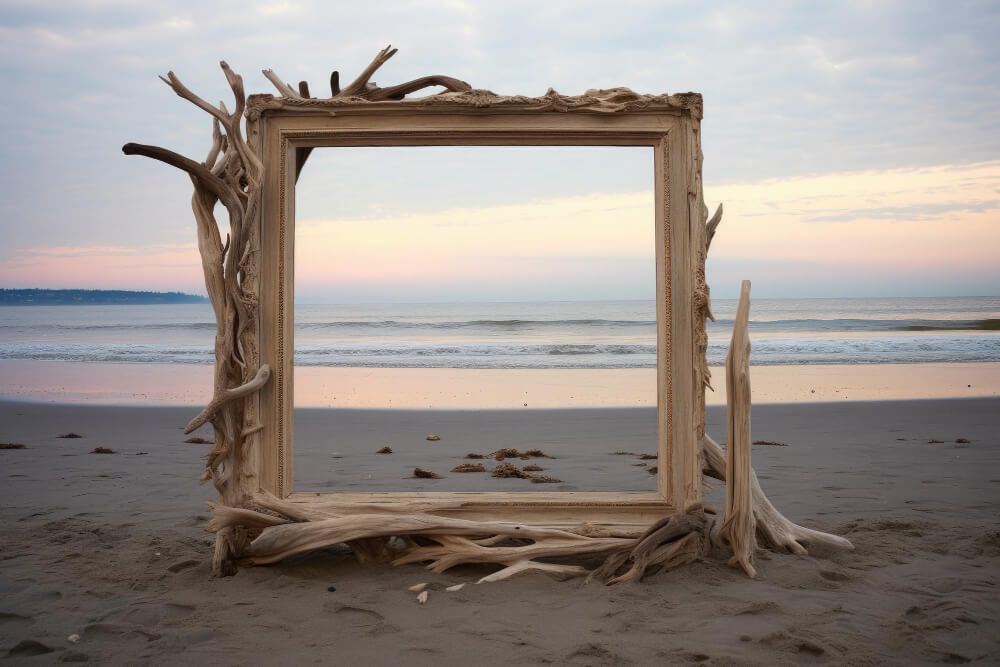
Find a composition anchor

🌴 Anchor Your Memories - Print Beach Landmarks! ⛱️
Shots of water and sand are beautiful, but a pop of color from something like a bird, a sailboat, a palm tree, or a beach umbrella adds visual interest to any beach shot. Refer back to rule #1 for placement: you want your anchor to line up with the intersecting gridlines.
Use burst mode to catch great action shots
🏄♂️ Action-Packed Prints Await! Use Burst for Best Moments 🌊
The burst mode on the iPhone can capture several photos within fractions of a second—all you have to do is hold the button when you take a picture. Use this function to capture crashing waves, jumping whales, or any other moving beach scenes. All the photos taken in the burst will be grouped together in your photos, so you can pick the best.
Check your exposure

☀️ Brighten Your Prints - Master Exposure Today! 📷
Use the AE/AF lock on your iPhone to ensure the bright beach sun doesn’t overwhelm your photos. Select the brightest part of your photo and press/hold on the screen. Once the AE/AF lock is enabled, a yellow box will appear. Slide the exposure bar that appears next to the box up or down to get that bright beach day vista just right.
Stick to the shadows (or not)
🌤️ Play With Shadows - Print the Light & Dark of Beach Days! 🖼️
Lighting is 99 percent of what makes a great image. Shadows can introduce great effects to a photo, but depending on what you’re shooting, you may want to avoid them. For objects, consider shooting in direct sunlight, so the shadows stand out and make your photo distinct. For people, consider shooting in the shade, or from undercover: the lighting won’t wash out your subjects or cause heavy shadows on their faces. And don’t get discouraged by a cloudy day at the beach (it makes for dreamy lighting).
Don't zoom
🚫 Zoom Out, Print Big - Capture the Whole Scene! 🏝️
The zoom function on most phone cameras only degrades the quality of the image. Instead of zooming, move as close to the subject of your photo as possible and explore it from different angles. Avoid zooming in when cropping your photos, too: This also makes the image fuzzy and lowers its quality.
Invest in a portable tripod
🎥 Steady Shots, Steady Prints - Get a Tripod & Print! 📌
$40 seems like a small price to pay for a tripod (try the JOBY GorillaPod) that lets you actually appear in your photos. An added bonus is increased stability in all your photos, though in a pinch you can always use two hands when shooting for more stability and better focus.
Keep your lens clean
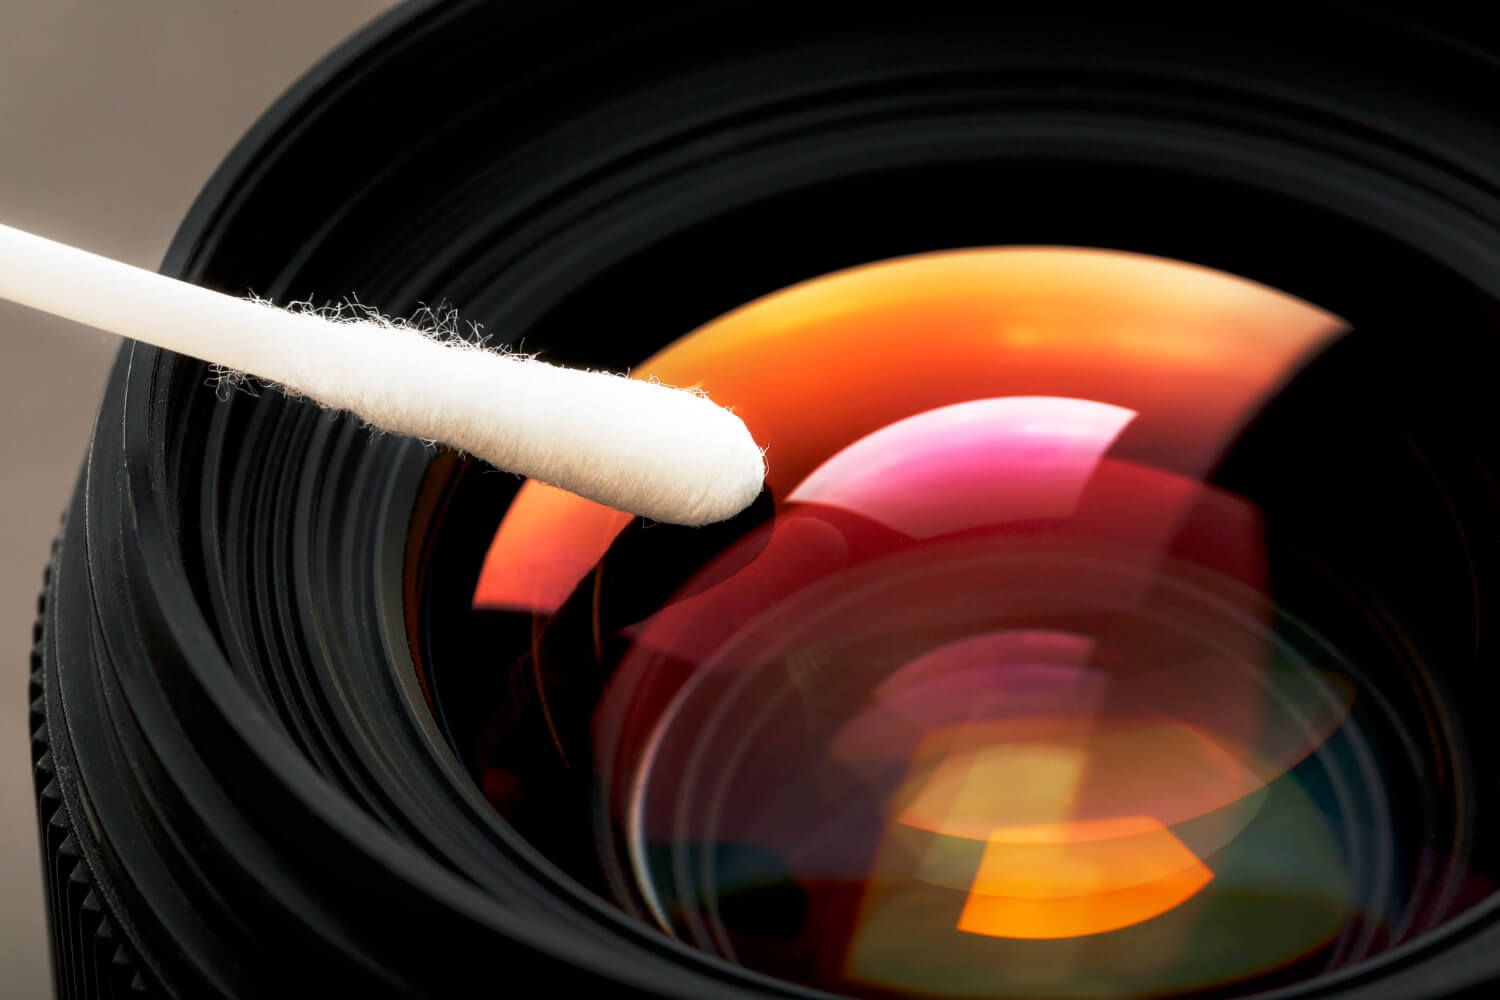
🧽 Clean Lens, Clear Prints - Make Every Detail Pop! 🔍
- Salt air and the hot sun can create a film over your phone’s camera lens, so make sure you wipe it before taking photos—just be sure whatever you use is dry and sand-free. It’s worth the extra second of effort for clearer pictures!
Don't forget videos
🎬 From Moving Waves to Still Prints - Capture It All! 🎞️
Photos are amazing, but nothing beats listening to the sound of ocean waves when you’re back at work dreaming of another getaway. Filming horizontally is a must here, especially if you plan on uploading your videos to any social media platforms. (Note that Instagram stories and Snapchat look best with vertical video, though.)
Edit

✨ Edit & Print - From Screen to Print, Perfect Your Beach Shots! 🖌️
There are countless apps out there that you can use to edit your photos: try A Beautiful Mess, Photoshop, VSCO, Camera+, or ColorStory. Use them to slightly increase the contrast, reduce highlights, and bump your vibrance/saturation to make your photos pop. Slightly is key here: Over-edited photos can detract from the image itself and degrade its quality.
Who’s ready to hit the beach and take your perfect photos?
Well, armed with these 12 expert tips from Leah at Picta, you're not just ready – you're practically a beach photography pro! With a blend of creative angles, smart techniques, and a touch of editing finesse, you'll be capturing ocean beauty like never before. So, grab your camera or phone, head to the coast, and let the waves become your canvas. The summer of 2024 awaits your photographic magic!